
Table of Contents
Simple Nail Art Designs That Anyone Can Try at Home
Simple nail art designs Ever looked at detailed nail designs online and thought, “I could never achieve that”? Let’s alter that narrative immediately. The realm of “simple nail art designs” isn’t just for salon experts with a steady hand—it’s for anyone who has a few bottles of polish and some curiosity.
The charm of “Simple nail art designs” lies in their forgiving nature, enjoyment factor, and excellent way of expressing creative self-care. This guide is your approachable, step-by-step invitation to craft lovely nails at home. We assure you: no complex abilities needed, only an eagerness to have fun and share your feelings. Breathe deeply, and let’s transform your fingertips into a small, individualized canvas.
Why Begin with simple nail art designs?
Starting with “Simple nail art designs” is the wisest choice for a novice. Why? Due to the fact that success enhances self-assurance. Perfecting a neat polka dot or a sharp stripe equips you with the abilities and enthusiasm to experiment further down the line.
These “Simple nail art designs” serve as the foundation of nail art. They demonstrate that you can create something beautiful without a large toolkit or extensive experience. It’s entirely about the pleasure of the journey—the brief moments you dedicate to yourself to craft something lovely.
Your Essential Starter Kit: What You Truly Require
Before we explore the “easy and Simple nail art designs” themselves, let’s discuss the tools. The positive update? You likely possess the majority of what you require. Here’s a simple, cost-effective initial list:
- Base Coat & Top Coat: These are indispensable champions. A base coat shields your nails and assists in adhering polish, while a shiny top coat locks in your design and enhances its brightness. Explore our guide on the [Top Base Coats for Durable Manicures] (https://www.yourwebsite.com/best-base-coats) for budget-friendly suggestions.
- Nail Polish: Begin with 2-3 shades. A light neutral, a dark hue for contrast, and a playful accent color are ideal.
- Dotting Tool: This is revolutionary for creating dots and intricate details. No instrument? A hairpin or a toothpick does the job flawlessly!
- Striping Tape or Scotch Tape: Ideal for achieving precise, defined lines.
- A Tiny Detail Brush: If you lack one, a small paintbrush or an old eyeliner brush that has been cleaned with remover can serve the purpose.
- Remover for Nail Polish & Cotton Swabs: To simplify the correction of small errors.
For a comprehensive, all-in-one kit, excellent beginner sets are available online at sites like Amazon or SHEIN, providing international shipping and reasonable prices.
Your Initial 3 Easy and Simple Nail Art Designs: Step by Step
Prepared to generate? Here are three reliable “Simple nail art designs” to enhance your abilities.
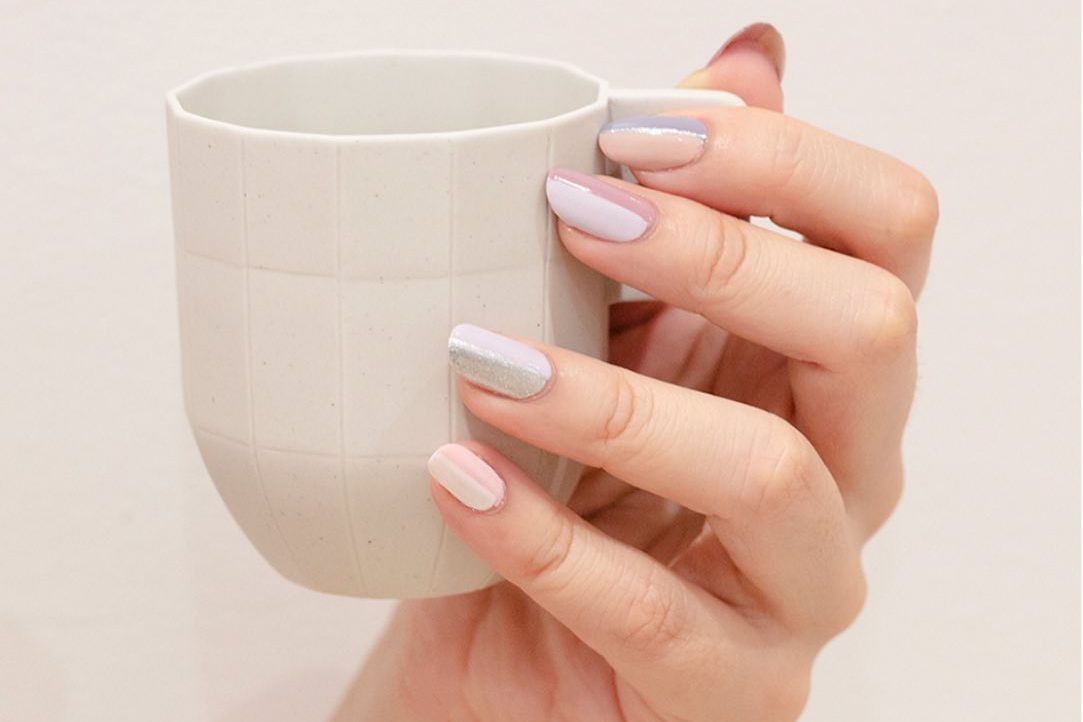
Design 1: Whimsical Dots
This is the ideal initial “Simple nail art design”—it’s bright, straightforward, and errors blend right into the pattern!
- 1.Prepare and Coat: Put on your base layer and allow it to dry. Next, apply two thin layers of your base color to all your nails (soft pink, white, or nude are excellent choices). Allow it to dry entirely
- Make the Dots: Immerse the end of your dotting tool (or the rounded part of a bobby pin) in your differing polish shade. Softly press it against your nail to form an ideal dot. Repeat!
- Be Inventive: Create a design! Experiment with a diagonal arrangement of dots, distribute them randomly, or position a single dot at the bottom of each nail.
- Seal It: After your dots have dried, secure everything with a glossy top layer.
Design 2: Sharp Stripes & Lines
Don’t allow straight lines to scare you. Using a basic tape technique, this “Simple nail art design” becomes effortless.
- Coat Your Foundation: Put on your base layer and your primary nail hue. Allow it to dry completely. This is crucial—if the surface isn’t dry, the tape will lift it.
- Place the Tape: Cut a narrow strip of striping tape or scotch tape. Position it on your nail in the design you prefer—diagonal, horizontal, or forming a geometric triangle.
- Coat It Again: Apply a different shade of polish and cover the taped nail. You don’t need to be flawless in this situation.
- The Magic Reveal: Gently remove the tape while the top coat is still slightly wet. You’ll uncover a flawless, sharp line below!
- 5.Top Coat: Conclude with your sealing top coat
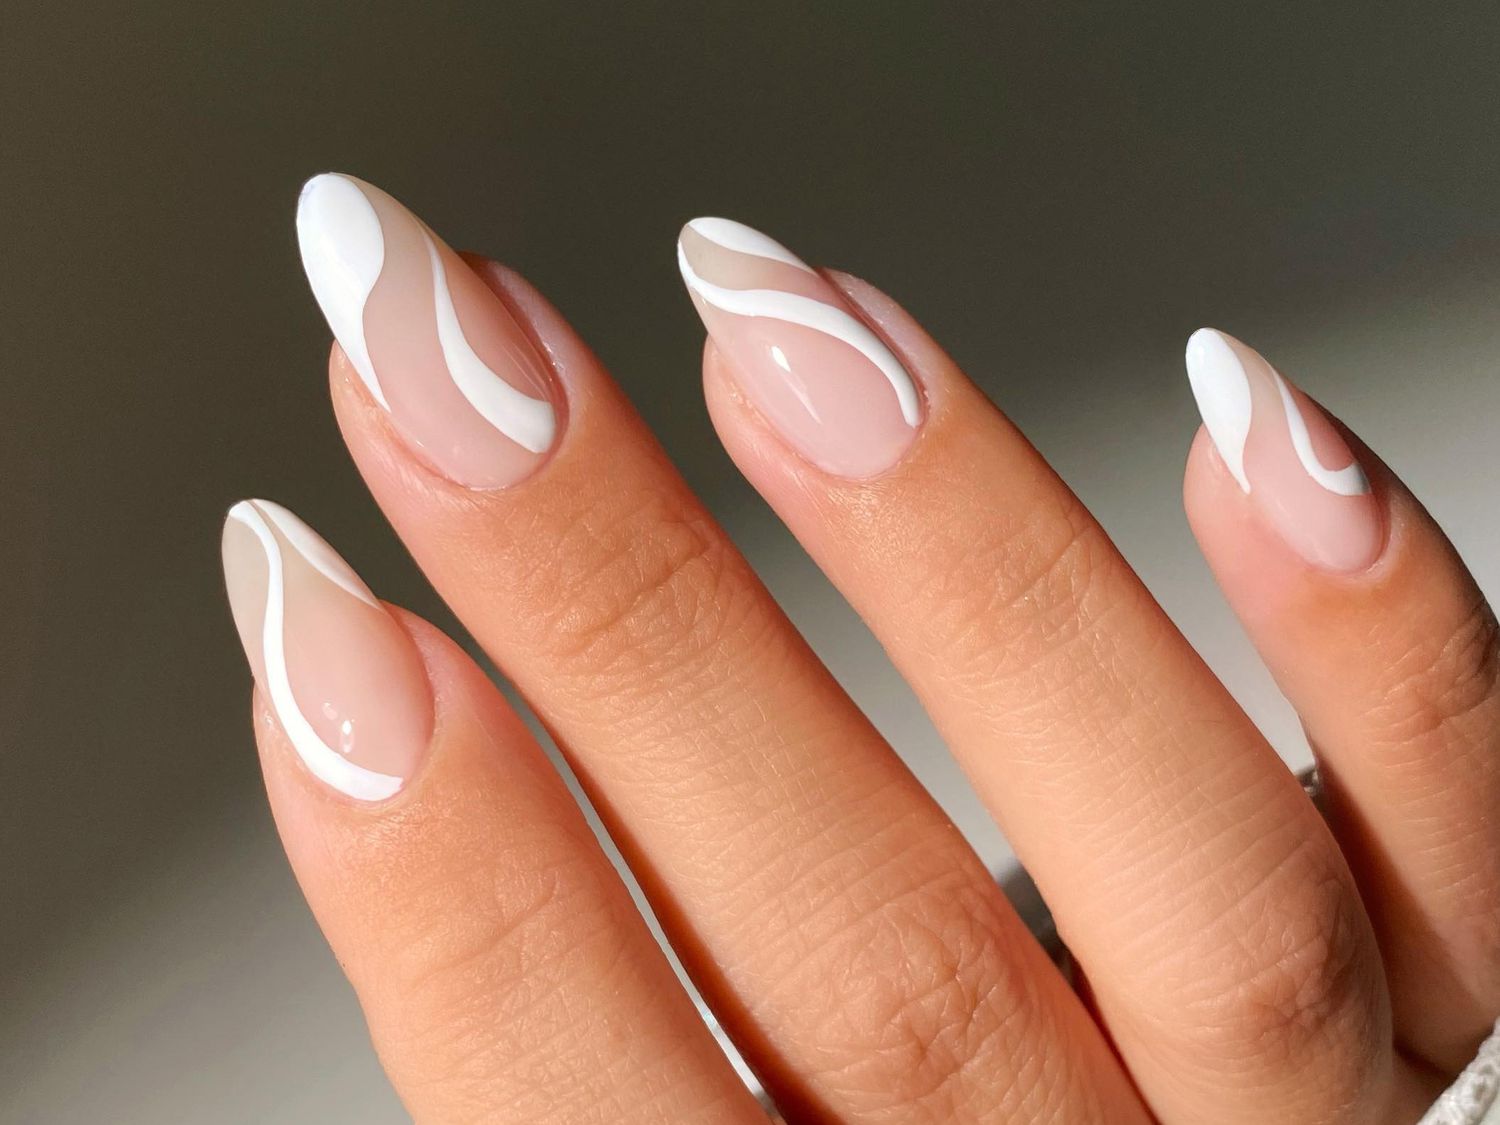
Design 3: The Contemporary French Tip
This timeless style has been revamped and streamlined, making it one of the most sophisticated “Simple nail art designs” you can learn.
- Base in Nude: Following your base coat, use a sheer nude or light pink polish. This will serve as the backdrop for your suggestion.
- Generate the Tip: Rather than drawing without tools, utilize a reference. You can purchase French tip guides or utilize a small section of tape positioned at a gentle curve at the point where you wish the tip to begin.
- Color the Tip: Use white or a soft hue to paint the visible nail tip. Remove the guide while the polish is still moist.
- Clean & Seal: Dip a small brush in polish remover to tidy any rough edges, then use your top coat to achieve that distinctive salon gloss. To discover additional advice on achieving a flawless canvas, check out our article on [How to Shape Your Nails Like a Pro] (https://www.yourwebsite.com/shape-nails-like-pro).
Expert Tips for Mastering Your Basic Nail Art Styles
- Patience is Polish: Allow each layer to dry fully before proceeding to the subsequent one. Hastiness results in stains.
- Two Thin Coats Triumph: Applying two thin layers of polish is always superior to a single thick layer. They dry quicker and appear more polished
- Enjoy Yourself: There are no mistakes in nail art—only “distinct creations.” Put a few additional dots around any unusual dots!
Conclusion
Although DIY nail art may appear daunting, as you’ve seen, “Simple nail art designs” are actually achievable for everyone. They place more emphasis on the creative, deliberate pause you give yourself than they do on perfection. Each stripe you paint and each polka dot you add is a little homage to your individual inventiveness.
You have all the necessary abilities to get started. This evening, gather your supplies and try your first design. Play some music, select your favorite item from our guide, and enjoy the moment. This is definitely something you can accomplish. When you’re done, pause to enjoy what you’ve created.
Grab your tools and try your first design tonight. Pick your favorite from our guide, put on some music, and enjoy the process. You can totally do this. And when you’re done, admire your work—you’ve just created something beautiful.


One comment on “Simple Nail Art Designs Modern”