
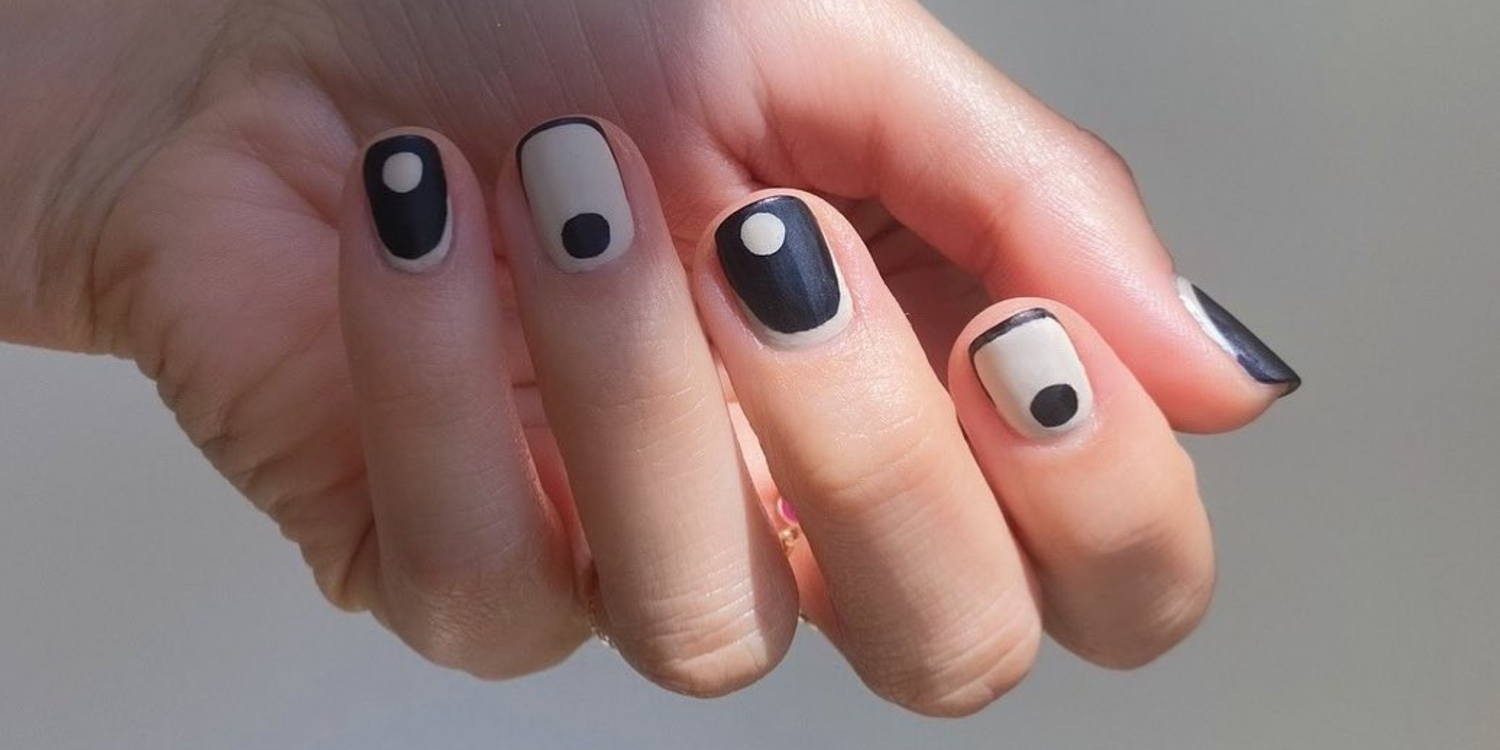
Nail art for beginners is all about turning your fingernails and toenails into tiny works of art. For beginners, it’s a fun and creative way to express your personal style using colors, patterns, and textures. Whether you’re trying simple designs like dots, stripes, or hearts, or experimenting with nail polish and basic tools, nail art offers a relaxing and rewarding activity. It’s not just about looking good—nail art allows you to showcase your creativity, boost confidence, and transform everyday nails into unique statements of your mood and personality.
Essential Nail Art Tools for Beginners
Table of Contents
If you’re just starting with nail art, having the right tools makes all the difference. Here’s a beginner-friendly guide to the essential items you’ll need to create fun and creative designs:
1. Preparation & Shaping
- Trimming Tools: Use nail clippers or scissors to cut and shape your nails to a neat, comfortable, and stylish length.Shaping Tools: Gently file and buff your nails to smooth rough edges and create an even surface before applying polish.
- Cuticle Pusher & Nipper: To maintain a tidy and clean nail bed, carefully push back the cuticles and clip them
- Nail Brush: Remove dust and debris after filing or shaping.
2. Art Application Tools
- Dotting Tools: Double-ended tools for dots, swirls, and simple patterns. Household items like bobby pins or toothpicks work as DIY alternatives.
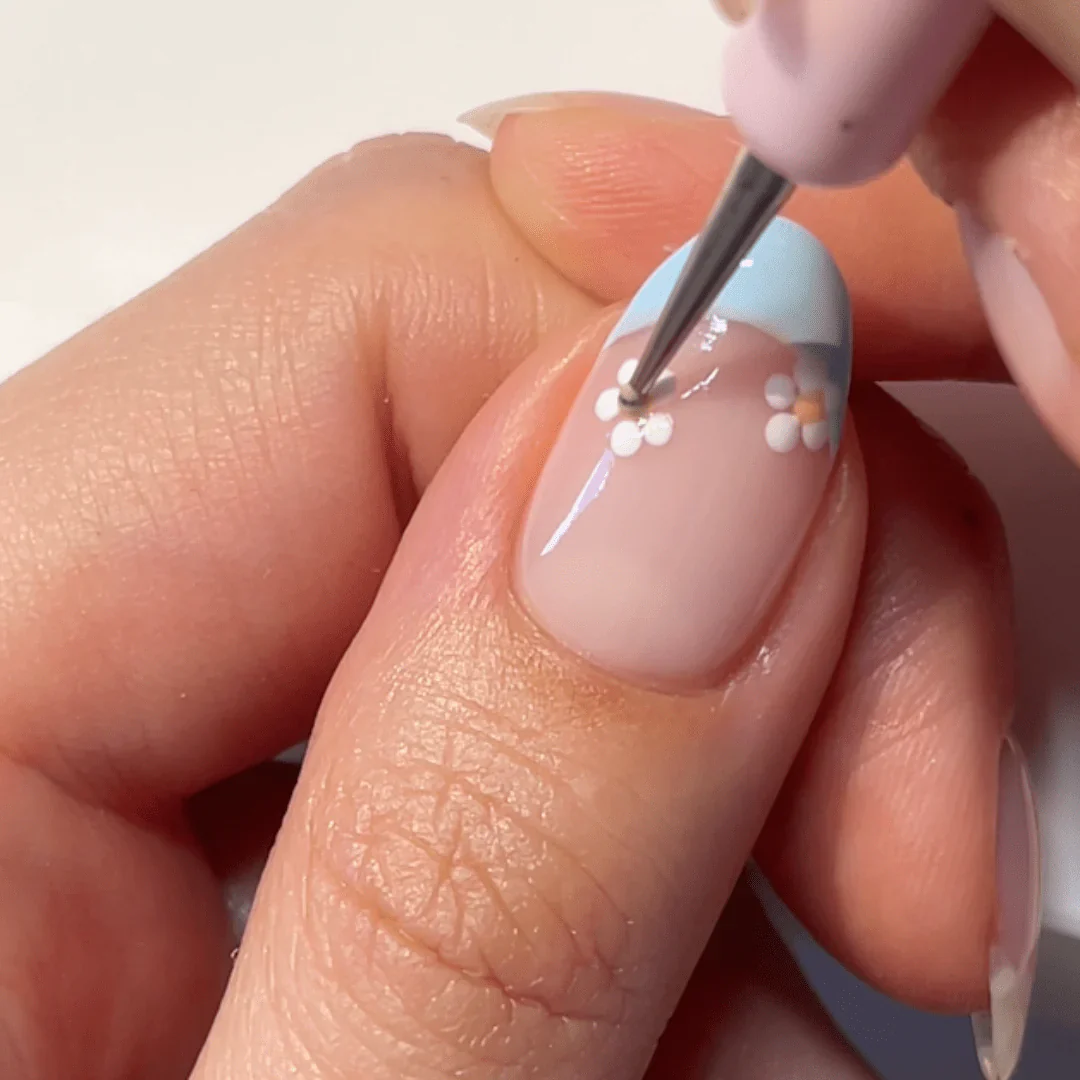
- Detail Brushes: Fine brushes for delicate lines, small designs, and intricate artwork.
- Striping Brushes: Long, thin brushes ideal for straight lines or geometric patterns.
- Flat/Angled Brushes: Perfect for gradients, flowers, or larger strokes.
3. Nail Products & Finishes
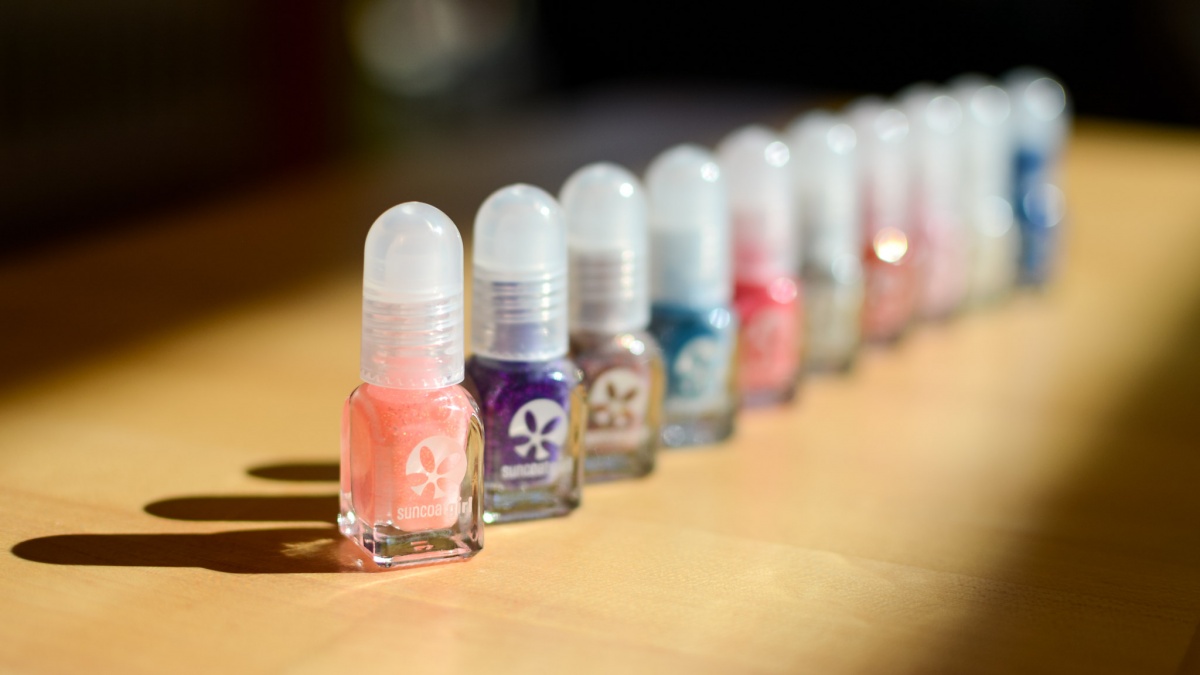
- Protective Coats: Apply a base and top coat to shield your nails and help your nail art stay shiny and fresh for longer.Nail Polish or Gel: Choose your favorite colors to bring your designs to life.
- Cuticle Oil: Keep cuticles nourished and nails healthy.
- UV/LED Lamp: Necessary for curing gel polish at home.
4. Cleanup Essentials
- Cleaning Essentials: Use alcohol wipes and cotton pads to correct small mistakes and keep your nails clean and well-neat.
- Small Cleanup Brush: For precise corrections around the nail edges.
With these tools, nail art for beginners becomes fun, easy, and rewarding. Start simple, and as you gain confidence, you can gradually explore more advanced designs and techniques.
Preparing Your Nails
Proper nail preparation is the foundation of beautiful, long-lasting nail art. For beginners, following a few simple steps ensures your nails are clean, smooth, and ready for any design.
1. Clean and Prep Your Nails
- Remove Old Polish: Use a gentle, non-acetone polish remover to clear any existing polish.
- Trim and File: Cut nails to your preferred length and file them into a uniform shape such as round, square, oval, or almond. Smooth edges help polish stay even.
- Soften and Push Back Cuticles: Soak your fingertips in warm, soapy water for a few minutes, then gently push back cuticles with a cuticle pusher or orange stick. Avoid cutting cuticles to prevent infections.
- Buff the Nail Surface: Lightly buff nails to remove natural oils and create a smooth surface, helping your polish adhere better.
2. Nail Shaping
The shape of your nails can enhance your designs and overall look:
- Round: Simple and easy to maintain.
- Oval: Elongates the fingers for a delicate appearance.
- Square: Strong edges for a bold look.
- Squoval: Rounded corners for a soft, classic style.
- Almond/Pointed: Trendy, tapered ends for dramatic designs.
Pick a nail shape that suits your finger length and matches your personal style.
3. Apply a Base Coat
A base coat is essential for protecting your nails and making your designs last longer:
- Protection: Prevents staining from dark polish colors.
- Better Adhesion: Creates a slightly sticky layer that helps polish stay in place.
- Application: Apply a thin, even layer on each nail and let it dry completely before starting your nail art.
Following these steps ensures your nails are perfectly prepped, providing a smooth canvas for nail art for beginners to experiment and create with confidence.
Choosing the Right Nail Polish Color for Beginners
Selecting the perfect nail polish color can elevate your nail art and complement your style. For beginners, considering skin tone, occasion, and color combinations can make choosing easier and more fun.
1. Match Colors to Your Skin Tone
- Warm Undertones: Corals, reds, warm neutrals, golds.
- Cool Undertones: Blues, purples, pinks, silvers, lavenders.
- Fair Skin: Soft pastels, light pinks, gentle grays.
- Medium Skin: Corals, mauves, burgundies, teals.
- Deep/Dark Skin: Rich jewel tones, deep reds, navy, rose gold.
2. Consider Your Wardrobe and Occasion
- Wardrobe Match: Complement or contrast nails with your clothing for a cohesive look.
- Occasion: Choose classic shades like nude or burgundy for formal events, and bold colors like neon or pastel for casual outings.
- Seasonal Colors: Bright shades for summer, deep tones for winter, and pastels for spring.
3. Experiment with Color Combinations
- Analogous Colors: Shades next to each other on the color wheel for a harmonious look (e.g., blue, blue-green, green).
- Complementary Colors: Opposite shades for bold contrast (e.g., purple with yellow accent).
- Monochromatic: Various shades of the same color family for a subtle effect.
- Accent Nail: Use a contrasting or shimmering polish on one nail to add interest.
4. Play with Textures and Finishes
- Matte, shimmer, glitter, or pearly finishes can create unique effects and make simple designs stand out.
- Always finish with a top coat to protect your design, enhance shine, and extend wear.
By understanding these basics, nail art for beginners becomes easier, allowing you to choose colors that look stylish and professional confidently.
Tips to Make Your Nail Art Last Longer for Beginners
For beginners, the key to a long-lasting manicure is proper prep, careful application, and daily care. Follow these simple steps to keep your nail art looking fresh and vibrant:
1. Nail Prep is Essential
- Clean and Dry Nails: Start with clean, oil-free nails. Wipe them with rubbing alcohol or a gentle remover to help polish adhere better. Avoid soaking nails in water right before painting.
- Shape and Smooth: Trim, file in one direction, and gently push back cuticles to create a smooth canvas.
- Base Coat: Always apply a base coat. It protects your nails and helps polish stick longer.
2. Applying Polish for Longevity
- Thin Coats: Use thin layers of polish rather than thick ones. Thin coats dry faster and reduce the risk of bubbles or smudges.
- Seal the Edges: Cap the free edge of each nail with every coat—base, color, and top coat—to prevent chipping.
- Dry Between Layers: Allow each layer to dry partially before applying the next to avoid smudging.
3. Drying & Top Coat Tips
- High-Quality Top Coat: Apply a chip-resistant top coat to protect your design. Reapply every 2-3 days for extra shine and durability.
- Quick Drying Tricks: Dip nails in ice-cold water for 1-2 minutes or use a hairdryer on a cool setting to set polish faster. Avoid hot air, which can cause bubbles.
4. Daily Care & Protection
- Wear Gloves: Protect your nails from water, cleaning products, and gardening by wearing gloves.
- Moisturize Cuticles: Keep cuticles and surrounding skin hydrated with cuticle oil or hand lotion to prevent peeling.
- Be Gentle: Use fingertips, not nails, for opening items or scraping surfaces to avoid damage.
5. Touch-Ups for Extra Longevity
- Refresh Shine: Reapply a thin layer of top coat every few days to maintain a glossy finish.
- Fix Chips: If a chip appears, gently file it smooth and touch up with color and top coat to prevent it from spreading.
By following these tips, nail art for beginners can stay beautiful and intact longer, making your creations look professional and fresh every day.
Common Beginner Mistakes in Nail Art and How to Avoid Them
Even small errors can affect your nail art results. Here’s how beginners can avoid them:
- Skipping Nail Prep: Always clean, trim, file, and push back cuticles for a smooth base.
- Thick Polish Layers: Apply 2–3 thin coats to prevent smudges and bubbles.
- Rushing Drying Time: Let each layer dry fully or cure gel properly.
- Skipping Base/Top Coat: Base protects nails; top coat adds shine and prevents chipping.
- Messy Edges: Clean stray polish with a small brush or cotton swab; use petroleum jelly around cuticles.
- Incorrect Filing: File in one direction to avoid splitting.
- Overloading Brush: Wipe excess polish for controlled strokes.
- Low-Quality Products: Use good polish and tools for better results.
- Smudging Designs: Float the top coat over art instead of brushing directly.
- Non-Dominant Hand Challenges: Rest hands on a flat surface, start simple, and embrace minor asymmetry.
By following these tips, nail art for beginners becomes easier, cleaner, and more enjoyable.
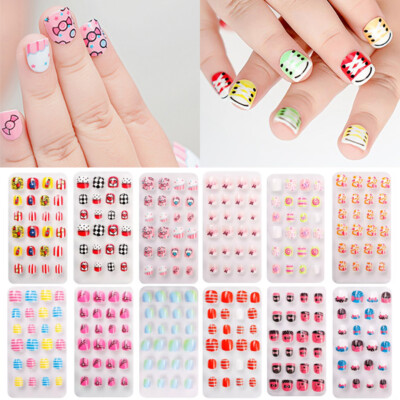
Fun Nail Art Ideas for Different Occasions for Beginners
Nail art is a great way to match your style to any occasion. Here are some beginner-friendly ideas:
1. Casual & Everyday Looks
- Pastel Ombré/Gradient: Soft, blended shades create a fresh, stylish vibe.
- Minimalist Florals: Tiny flowers using a dotting tool add a cute, natural touch.
- Pearly or Iridescent Finish: Subtle shimmer for a girly, elegant look.
- Neutrals with a Twist: Shades like mocha or soft browns give a chic, understated effect.
2. Festive & Holiday Styles
- Sparkle Effects: Use glitter or holographic polish to give your nails a fun, eye-catching, and festive finish.
- Metallic Accents: Gold, silver, or chrome tips add a festive shine.
- Confetti Nails: Tiny colorful specks for a playful, joyful look.
- Themed Designs: Stars, celestial patterns, or seasonal colors like emerald and red.
3. Party & Statement Designs
- Bright & Bold Colors: Choose neon or fluorescent shades for a lively, attention-grabbing look perfect for parties and festivals.
- Chrome or Metallic French Tips: Modern, eye-catching twists on classic manicures.
- Galaxy Nails: Deep blues, purples, and stars for a cosmic effect.
- Velvet or Textured Nails: Plush, unique finishes for dramatic flair.
- Graphic or Smokescreen Effects: Bold, statement-making designs for standout looks.
With these ideas, nail art for beginners can be fun, versatile, and perfectly suited to any event, whether casual, festive, or party-ready.
Conclusion:
Taking care of your nails and using the right tools makes nail art easier and more enjoyable. With proper preparation, gentle care, and a few simple steps, you can achieve neat and long-lasting results at home. Start with basic techniques, stay consistent, and let your creativity shine through your nail designs.
One comment on “Nail art for beginners”